I'm still utterly exhausted from this whole wedding-fiasco in September, (yay! I'm a Mrs. now!), the holidaze, and the moving (yup, we're moving! In just a couple days!). So the gooshy wedding post and awesome photos will come later. Much later. When I don't feel like giving the stink eye when someone asks me "how was the wedding?" Cuz, right now, I just want to scream and run off to the coast for a nap. The West coast, of course. I refuse to accept Texas as having anything but some gravely sand and dirty bath water. A gulf is not a proper ocean, people!
That said, here's a LONG overdue, rambling update on a project.
The chair from hell.
This took over a year. Mostly, because I have a short fuse and little patience for obstinate furniture. Which this was. Stubborn. Uncooperative. Horrible, even.

See? It even looks like a jerk.
I picked this baby up on good ol' craigslist for $10. I had wanted two of them, but someone got to its mate before I did. In the end, it really was for the best. I loathed this project. It was horrible.
To start, this thing smelled like old-lady perfume. It was bad I tell you. My car stunk for days after bringing this home. The bright side of having horrible dry weather in Texas, is the option to leave car windows open for a week, with no worries. In my garage, of course. I'm no fool.
Also, I stuck this sucker in the middle of our yard for a couple of weeks to "air out." I thought if anything could help remove the funk, it would be the 110 degree heat and the merciless Texas sun. It worked. sorta.
Now, the plan here was to strip the fabric, sand down the wood (the stain was coming off, like, everywhere and I am not a fan of the beat-to-hell look), and re-cover. In some sort of awesome fabric.
First problem:
Removing the bottom cover was a pain. There was bleeding involved, and a whoooole lot of cussing.

Why?
Industrial staples. A bazillion of them. Everywhere I looked, industrial staples.

Staples in places that didn't even make sense. Like, randomly in the chair leg, where no fabric had ever been.
The entire chair was covered in staples like this. Two-three extra rows of staples. Staples in non sensical places. The extra-super-duper fun part about these staples? They break. In half. Every.Single.Time. The best method to attempt removal was to shimmy a thin flat head screwdriver underneath the head of a staple, wiggle it around to raise the staple from the wood, and yank it out with pliers. This was the most successful approach, at a success rate of 50/50. Most of my time was spent desperately trying to pull out staple nubs. A lot of them we ended up pounding back into the wood.
I loathed this chair. I was tempted to set in on fire, several times. Then I remembered how bad it smelled when I picked it up, and decided sending those toxic fumes in the air would just be cruel.
This project scarred me. Scarred. A couple of times I thought I would need stitches for the gaping wounds that the random pokey edges of broken staples gave me. Good thing I'm solid on my tetanus shot. R is definitely worse for wear-that boy is a bleeder.
So, yes. This bastard of a chair took over a year to just rip off the fabric. I'm scarred. R is scarred. We both HATE hate hate this chair. Or, at least we did. When we finally removed the last piece of fabric, there was much celebration. Then we hid the beast in the storage room for a few months. What? We had better things to do...
Fast forward to me complaining about the chair not being done- we hit up Home Depot for some stain, and got to work sanding this bad-boy down.

I love nudey furniture pics.

As a purely cheap-skate move, we kept the original batting and foam. Due to the depressing lack of crafty-fabricy supply stores nearby, the cost vs reward was too high ($50 for replacing that wee amount of goods, if you were wondering).
Also, it was all in pretty good shape. Other than lingering perfumey smells, that is. I ended up spritzing (soaking) the foam & batting with a vinegar/water mix, then a hydrogen peroxide/water mix. Let sit out it oppressive Texas heat to dry. Called it good 'nuff.
Next step was to stain this sucker, which I forgot to photograph. R helped, which was awesome, because I love working on projects with him. I doubt he has the same feeling about me.
We stained, we wiped, we suck at this process. We sanded for a light "distressed" look, then decided we didn't like the distressed look, and re-stained. It's still not the right color we were goin' for, but, we've had it up-to-here with this chair, so, it's good enough for now. Once we move, we'll tackle the whole staining-and-sealing the legs again. Let's be honest, movers will probably screw it up, and I just don't have it in me to finish it off. Right now the legs are "Walnut," which is what we thought we wanted. Maybe it'll look better after a coat of poly on top. Maybe? At least the wood is actual hard-wood, and not some mdf crap.
Recovering this bad boy, fortunately, was pretty easy. Not that I took pictures of the process...
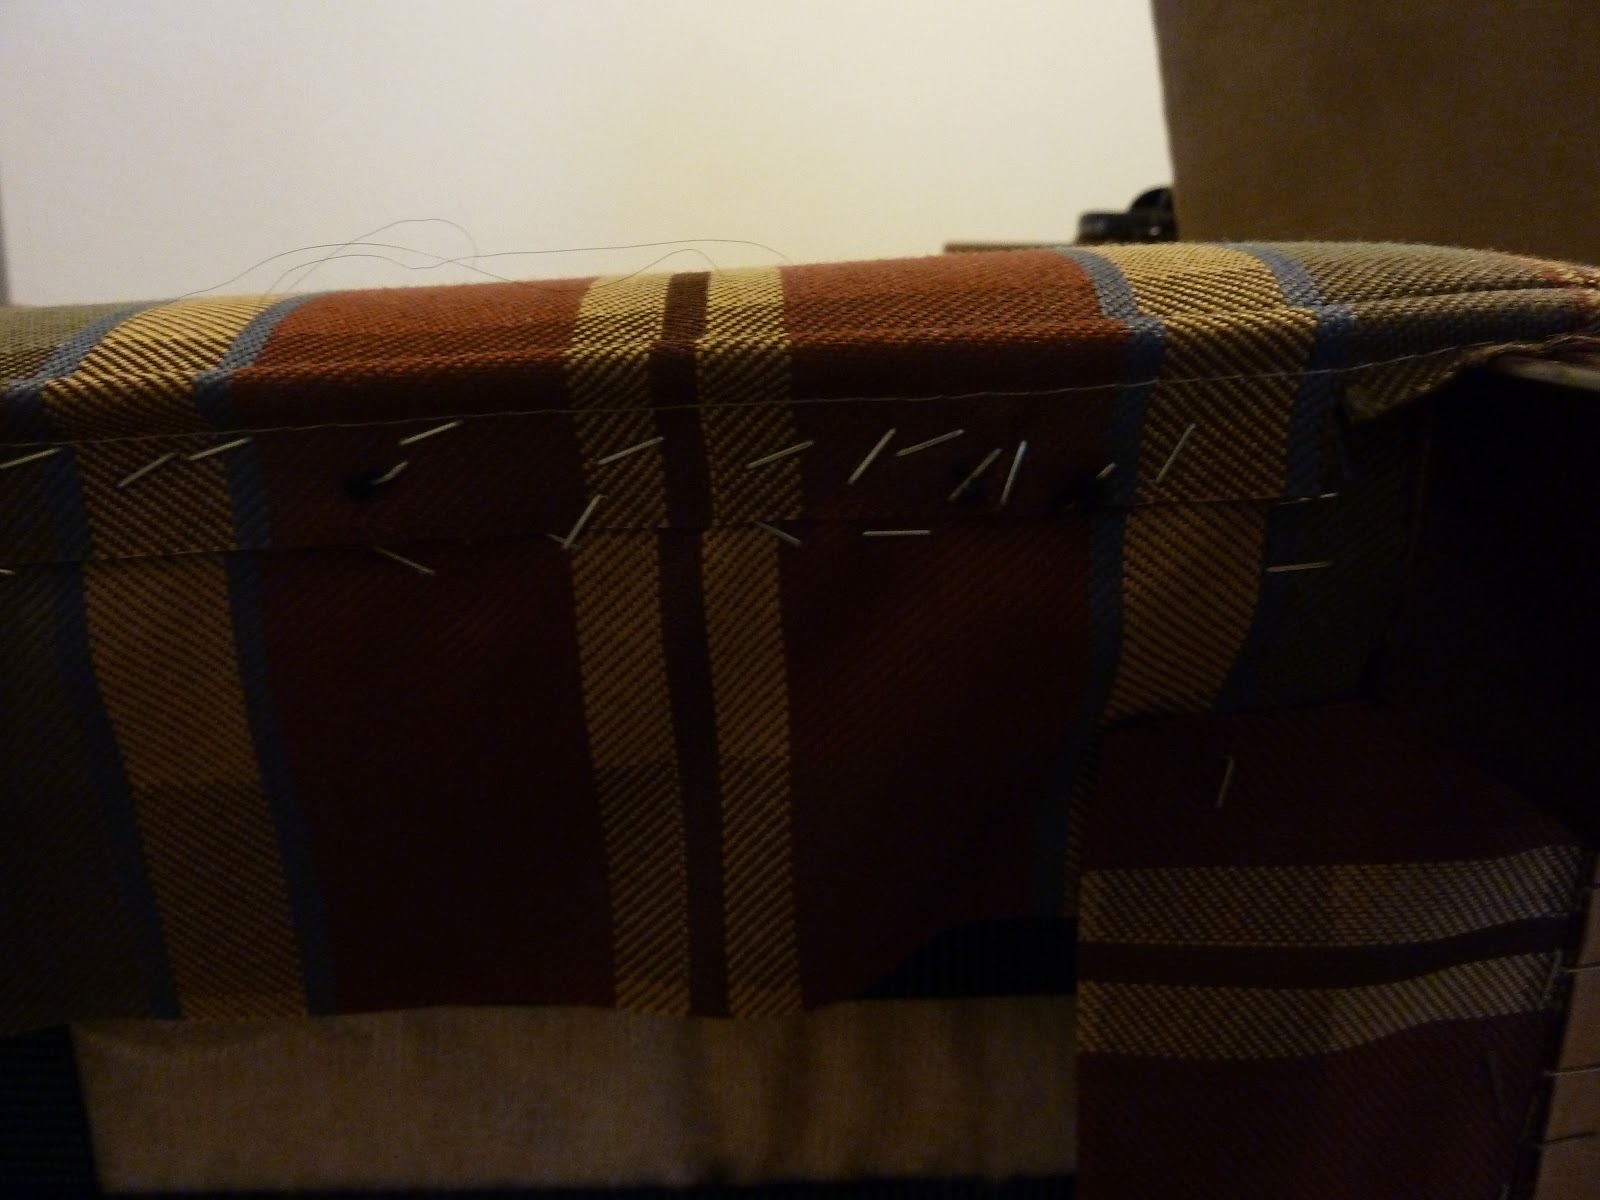
Keeping the original fabric as a template, I cut out the new stuff (that R picked out from a selection of options I pulled up), and pinned 'em together. A better idea would have been to mark the original pieces with a sharpie, clearly explaining where they go and in what order, THEN pinning the new fabric to it. Lesson learned.
Once we finally had the patience to tackle the reupholstering, it was a pretty quick process. I remembered, vaguely, in what order the pieces came off. So, ya know, reverse that and put 'em on. My handy-dandy staple gun (with lots of extra staples on hand!) and R tugging/holding fabric in place was all I needed to finish this sucka off.
And now, the before, to refresh your memory:
annnnd the after:

I know, I know, the lighting is horrible and the photo is fuzzy. Send me a photographer if you want better. It's not an exciting fabric. It's earthy-greenish, microsuede. Microsuede, to match the couch. And so my sumptuous thighs do not stick to the chair during the summer. I hate vinyl seating, btw. Worst idea for desert-type areas ever. Ever.
Says the chick in exercise shorts sitting on a giant yoga ball right now. Sticky sticky.
We have curtains stashed somewhere that match the chair. Microsuedey and everything. FYI. Wasn't planned, I swear.
R is not overly adventurous in decorating choices, and our current living room set is very...manly. Which I'm cool with. I like neutral. I like earthy. Our coffee table is wood with stone set into the top. It lifts up into a cocktail table. It's awesome, and looking for a photo example was unsuccessful for something even close. I'd post a photo, but my house is packed up and on a moving truck right now.
I digress. It's a man-cave in here, but a classy one. So, simple neutral chair fabric it was. Besides, I can get wild with throw pillows later. Right? Riiiight?
What would I do differently with recovering? Well, for one, get the dogs out of the house before using a staple gun. Seriously, they freaked. There was shaking, whimpering, and massive drooling during this project. It was pretty pathetic. Also, I'll never ever touch a "hotel chair" again. I wanted to cry trying to remove staples. It was the worst project ever. After that, though, things went well.
I would probably change my mind about replacing the foam, too. For some reason, sitting in it now isn't as plush as before the re-do. That could be because I didn't spend much time sitting on it in the first place, but whatever. My big tush sinks in more than I would prefer, so I'll banish skinny guests to the chair.
Which look fantastic dressed up with that throw pillow I made way-back when. Huzzah for scrap fabric, and hoarding tendencies!
Thus ends the year-long saga of the chair-makeover (for now). A mite extra seating, and a whole lot of toil. I still can't decide if the effort was worth it, versus buying a similar chair at Ross for $250.
Who am I kidding? I'll never spend that much money on a single chair!
I'm off to move far, far away from Texas. Yeehaw!